5 min read
Mountain V2 Upgrade Via Ascender

We’re happy to announce Mountain V2, with a new backend that is going to allow for new and awesome features! It also brings along additional security features like two-factor authentication (2FA).
In order to achieve these awesome new features we need to: setup 2FA in Mountain V2, create new authentication keys for our products, and use Ascender to upgrade existing servers configured for Mountain V1 (this does all of the heavy lifting for us).
Keep reading for a step-by-step guide to upgrading via Ascender from Mountain V1 to V2.
Demo video
Get Mountain access key
Once you have setup your 2FA with Okta, browse to https://secure.ciq.com.
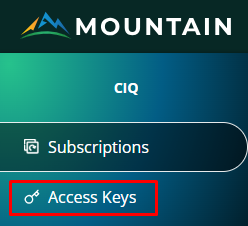
From here, click on the “Access Keys” option on the left:
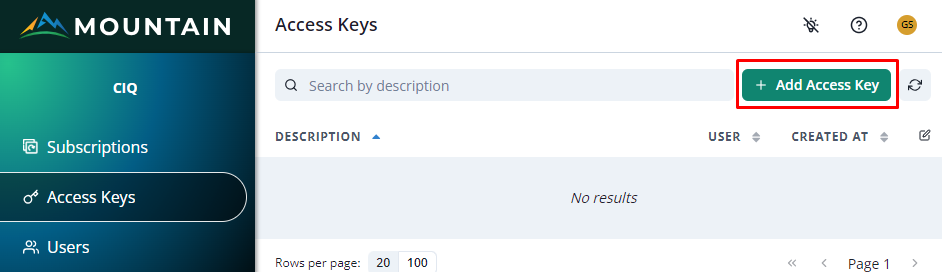
From here, click on “Add Access Key” in the upper right corner:
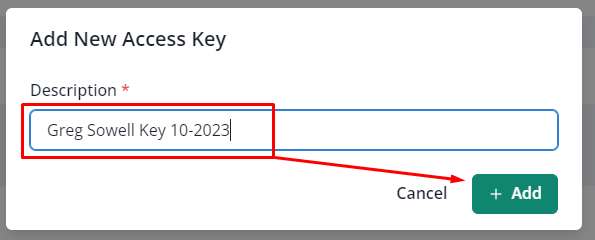
Now, give your key a useful “Description” and click “Add”:
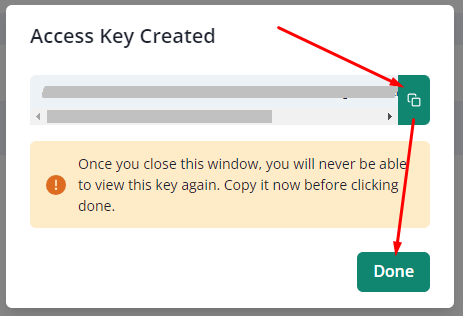
The “Access Key Created” menu will pop up. This is your one chance to copy and save this key, so be sure to grab it, and then place it in your secure key vault (we’ll need this later in the process). Once done, click “Done” to close this window:
Install Ascender
I have created an easy-to-follow guide to install Ascender here. Once you have Ascender ready to go, continue on.
Configure Ascender components
Ascender has a few required components to perform our automation:
-
Project - pulls in playbooks and associated files
-
Inventory - list of hosts able to be automated against
-
Credentials - how to log into a server
-
Job Template - pulls all automation parts together
Project
Projects connect Ascender to your git repositories. I’m going to connect to my public git repo, though you likely want to clone this repository in your environment to make modifications. In that case, change the git locations coming up to match your own.
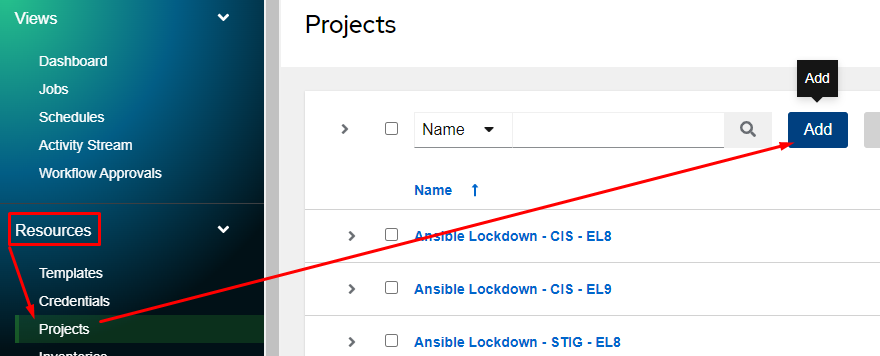
I start by clicking “Resources,” “Projects,” and clicking “Add”:
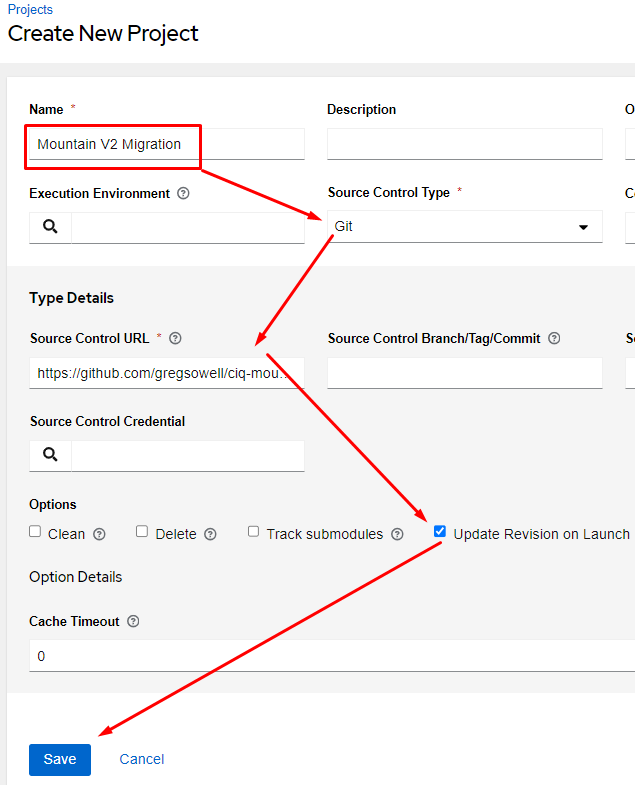
Fill out the following sections and click “Save”:
| Name | Meaningful Name |
| Source Control Type | Git |
| Source Control URL | Your URL or my public of https://github.com/gregsowell/ciq-mountain-v2-migration.git |
| Update Revision on Launch | Check this for your own personal repo. It will refresh this repo each time it is launched(will add around 5 seconds to your automation run). |
Once save is clicked, it will show the job status as synchronizing, and eventually should show as “Successful.”
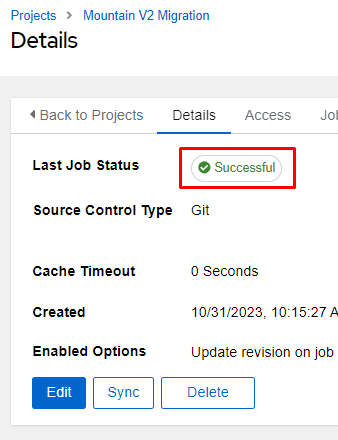
All of the required files should now be in Ascender.
Inventory
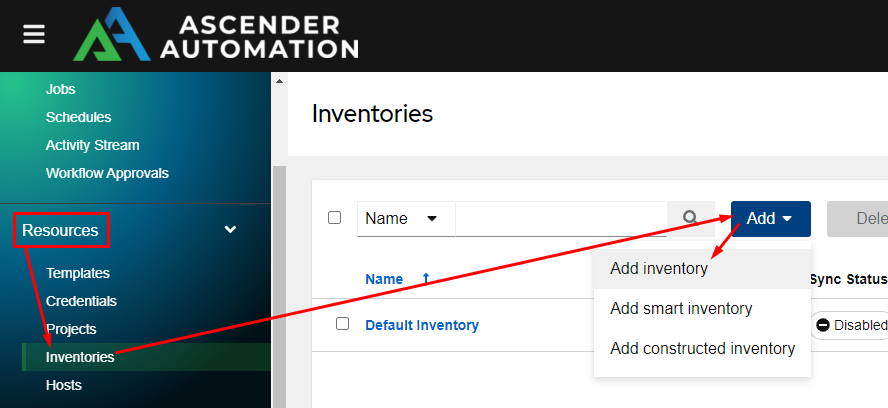
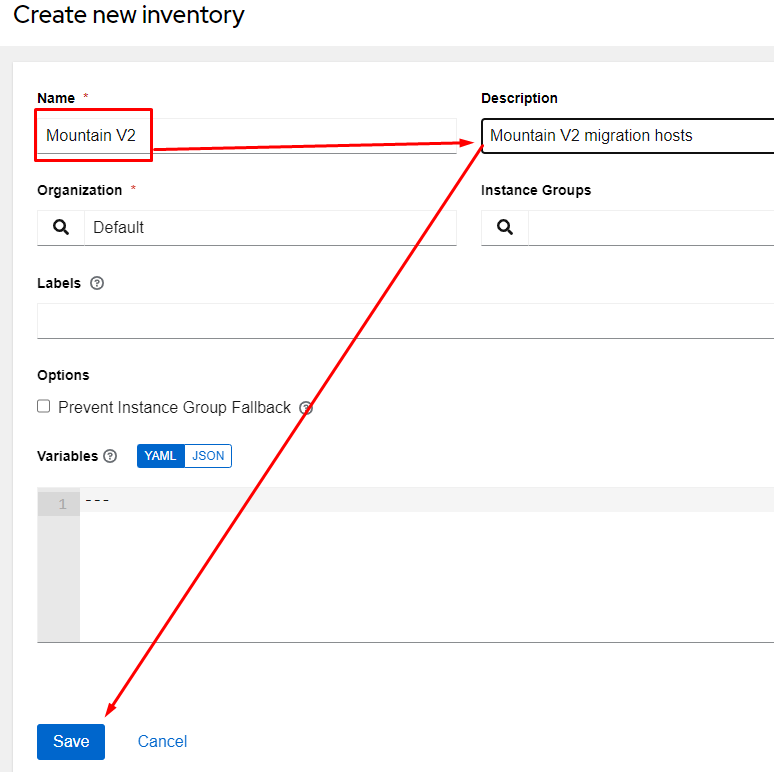
To add an inventory from the left menu, click “Resources,” “Inventories,” “Add,” and choose “Add inventory.”
From here, choose a meaningful name, give it a good description, and click “Save” at the bottom.
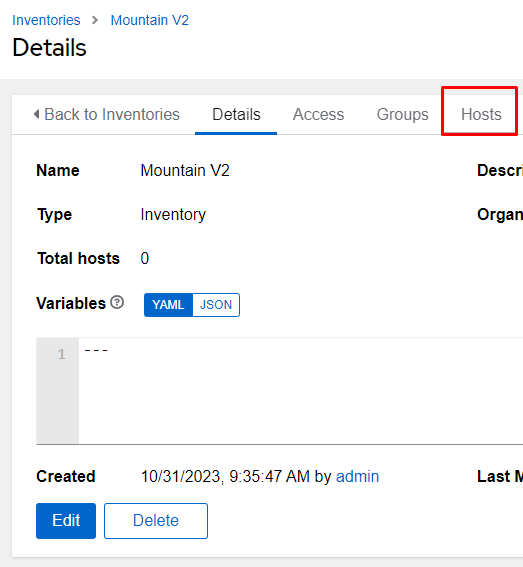
From here, click the “Hosts” tab:
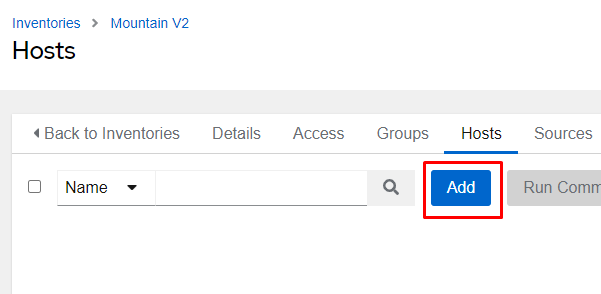
Click “Add” so we can add a host:
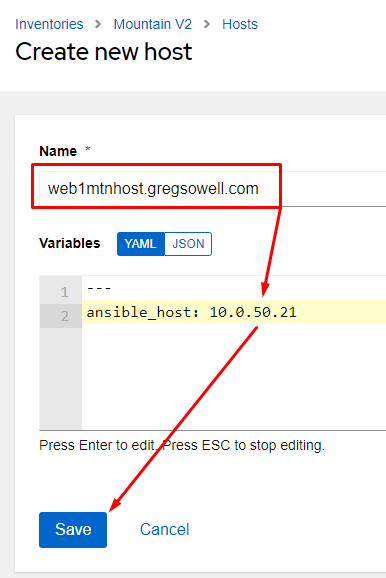
Adding a host has a couple of options.
If the host has a fully qualified domain name (FQDN), then the only thing required is to add the FQDN in the name portion and click “save.”
If the host does not have a FQDN, then the “ansible_host” variable can be added in the variables section to allow you to specify the IP address Ascender should use to connect to the host.
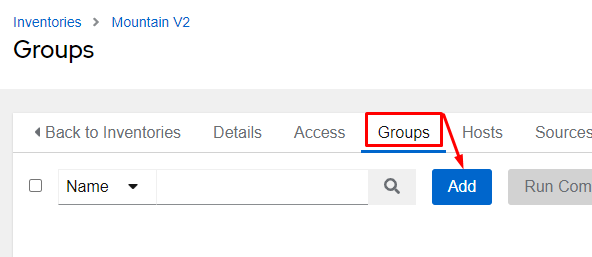
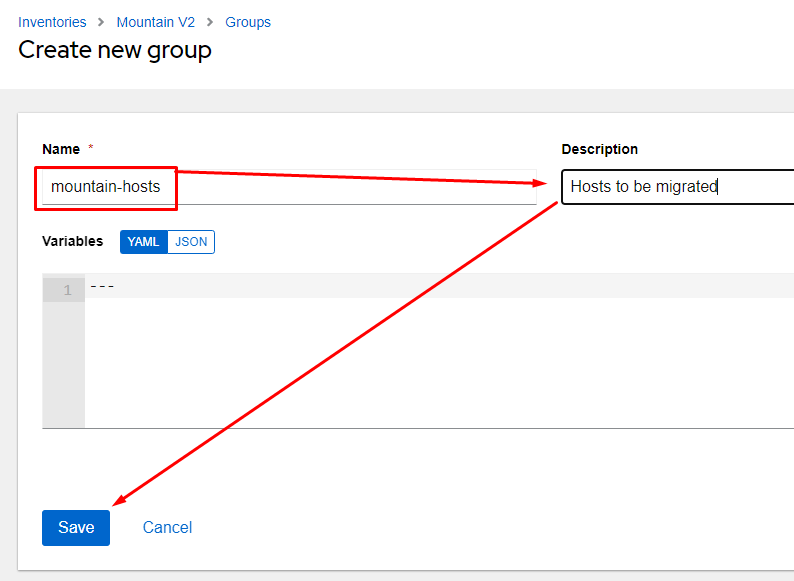
I’ll next add a group (my playbook is already pointing to it). Click on the “Group” tab and click “Add”:
The group name here, “mountain-hosts,” is what I have defined in my hosts section of my playbook. You could also change the playbook hosts section to “All” if you wanted, but I prefer to use groups.
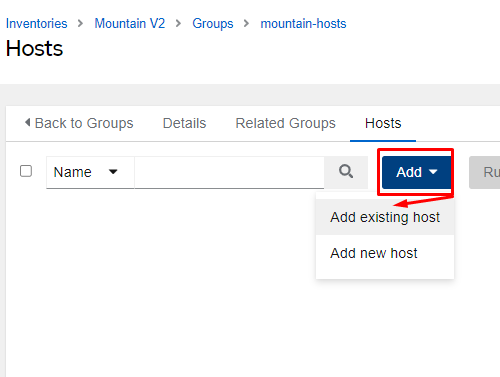
From here, I can add my hosts by clicking “Add” and “Add existing host”:
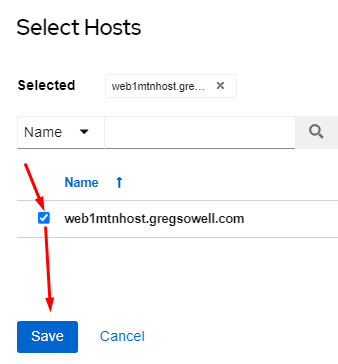
I then choose my hosts and click “Save”:
Bonus - adding multiple hosts rapidly
If you are in a hurry and have a wide range of hosts to add quickly, you can import from an inventory file or via a configuration management database (CMDB).
If it is a standard cloud provider like AWS, GCP, or Azure, there are already in-built dynamic inventory scripts that will pull those hosts in. If you have a CMDB not on the list of options, I will be publishing a blog post on creating a custom dynamic inventory script this week.
Inventory file
A quick and dirty way to bring in a range of hosts is via an ini-based inventory file. I only recommend this if you are in a time crunch as it’s a little inelegant. If you cloned my repository, you have a sample one here. I’ll paste it below for reference:
[mountain-hosts]
# example of a fully qualified domain host
webhost12.gregsowell.com

#example of a non FQDN host
#add the ansible_host variable to specify what IP address ansible should use to connect
webhost44 ansible_host=192.168.1.44

#example of using IP ranges
#this will attempt to connect to all hosts from 10.134.10.0 to 10.134.11.254
#this is a quick and dirty way to pull in a lot of hosts at once
10.134.1[0:1].[1:254]

#here’s an example of doing the same thing via hostnames
#This would be webserver001.gregsowell.com to webserver254.gregsowell.com
webserver[001:254].gregsowell.com
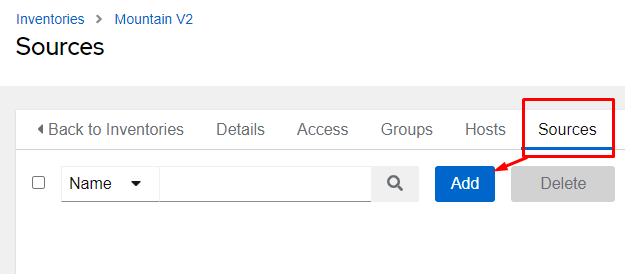
You can see I added hosts both by IP ranges and used number ranges in a FQDN. Here are the steps to pull this into my inventory. From inside your inventory, click on “Sources” and then click “Add.”
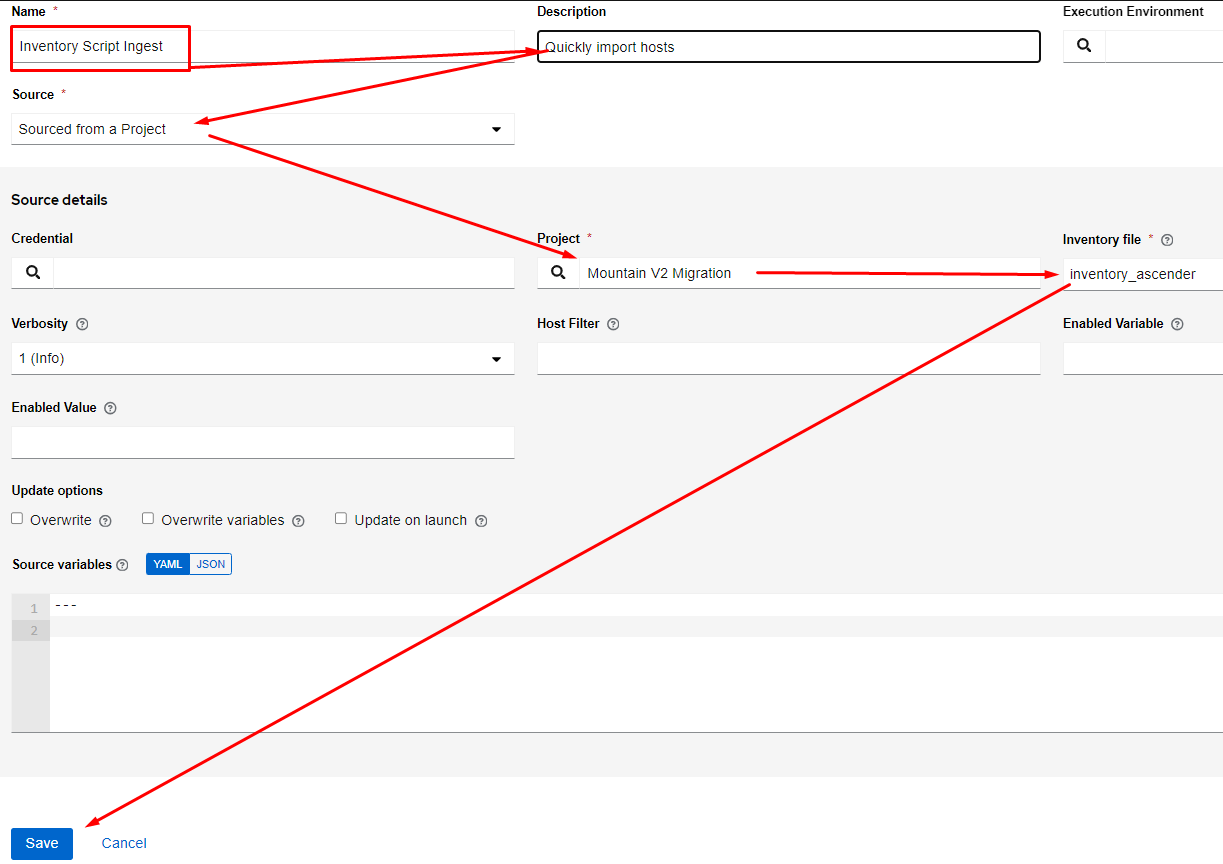
Now fill out the remaining section as follows and click “Save”:
| Name | Meaningful name |
| Description | Meaningful description |
| Source | Sourced from a Project |
| Project | The name of the git repository that contains your inventory file. Mine is stored in my public git repo that holds my playbook, so I choose the “Mountain V2 Migration.” |
| Inventory file | Choose your inventory file. In my case, it’s “inventory_ascender.” |
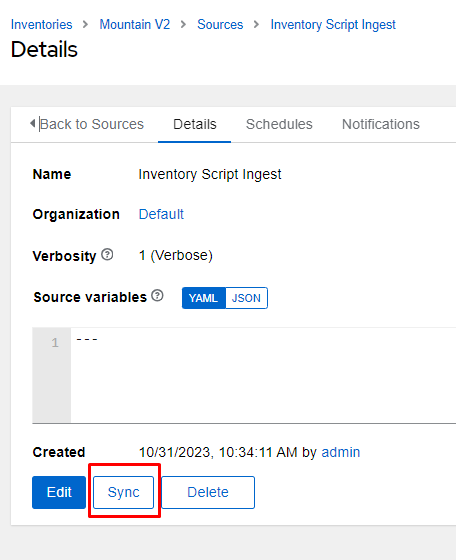
Now click the “Sync” button to have Ascender ingest the file:
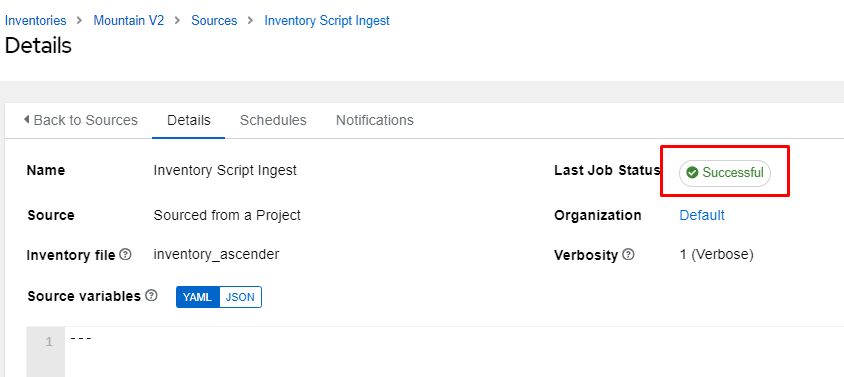
Once complete, you should see “Last Job Status” as “successful.”
I’ll now go back to my inventory and click the “Hosts” tab to see all my hosts were imported:
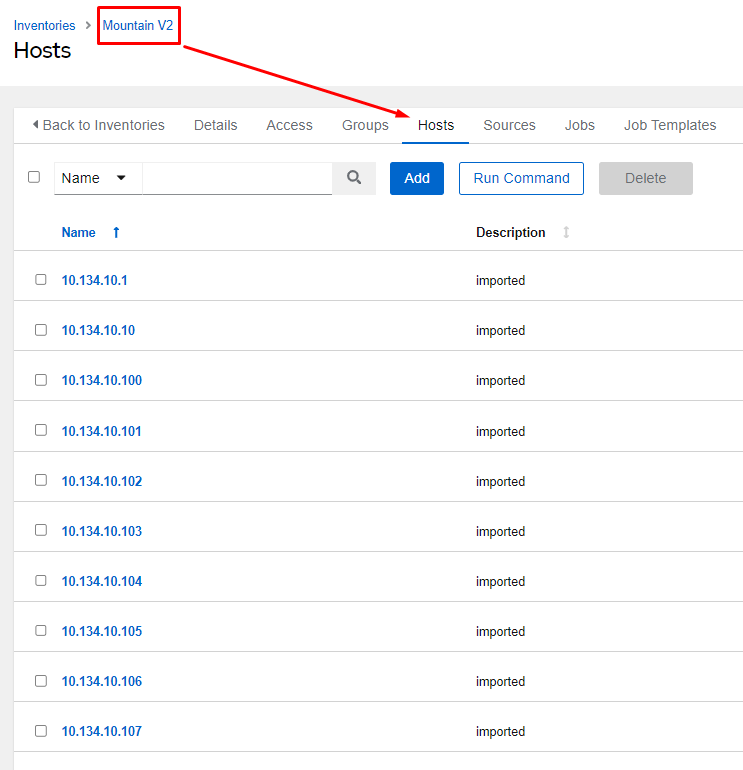

As you can see, you can very quickly create a lot of hosts if necessary. It can be a good way to seed an inventory for sure.
Credential
Credentials are ways to securely maintain secret information within Ascender. I’m going to walk through setting up a simple credential via username/password and also how to store the Mountain Access Key (MAK).
Machine credential
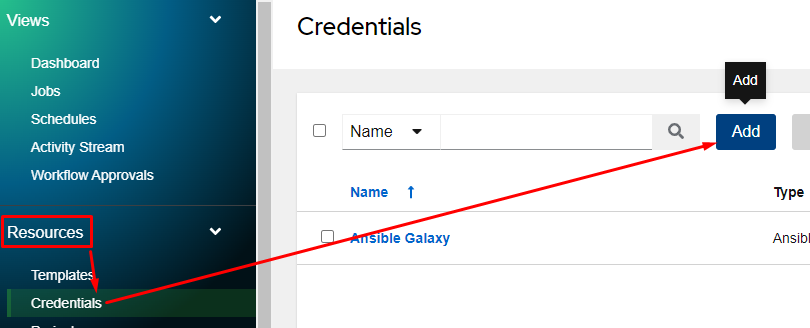
Click on “Resources,” “Credentials,” and click “Add”:
From here, fill out the following and click “Save”:
| Name | Meaningful name |
| Credential Type | Machine |
| Username | Your username |
| Password | Your password |
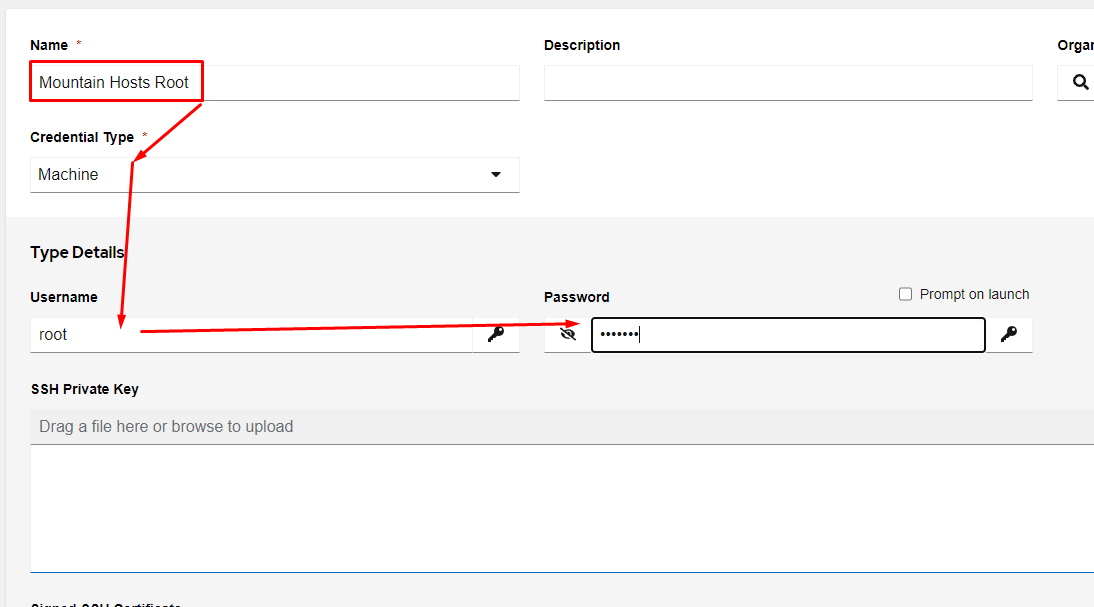
This password is kept encrypted in the database. Ensure that this is a user that has sudo permissions. You may need to set sudo options, and if so they are at the bottom of the credential menu:

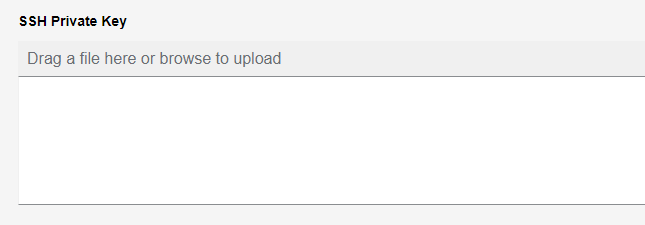
If you prefer to use a SSH key, you can paste that into the “SSH Private Key” section:
Mountain access key
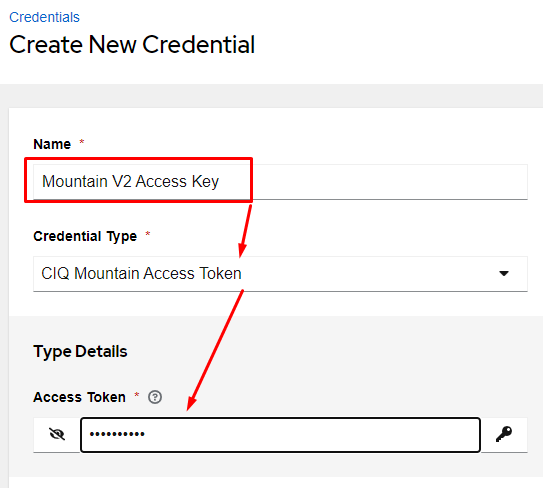
Taking the key we acquired from Mountain, I’ll create a new access key as follows and click “Save”:
| Name | Meaningful name |
| Credential Type | CIQ Mountain Access Token |
| Access Token | Paste your token here |
Job template
Job Templates bring all of the individual components together to run our automation. To create one, click on “Resources,” “Templates,” “Add,” and choose “Add job template”:

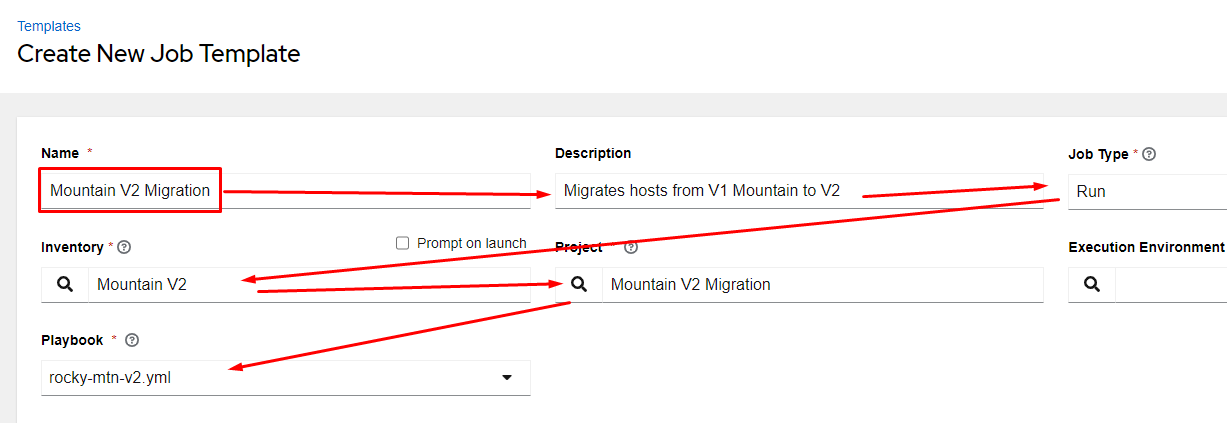
I’ll now fill out the blanks as follows (DON’T CLICK SAVE YET):
| Name | Meaningful name |
| Description | Meaningful description |
| Job Type | Run |
| Inventory | Your inventory that holds the Mountain migration hosts |
| Project | The newly created project |
| Playbook | rocky-mtn-v2.yml |
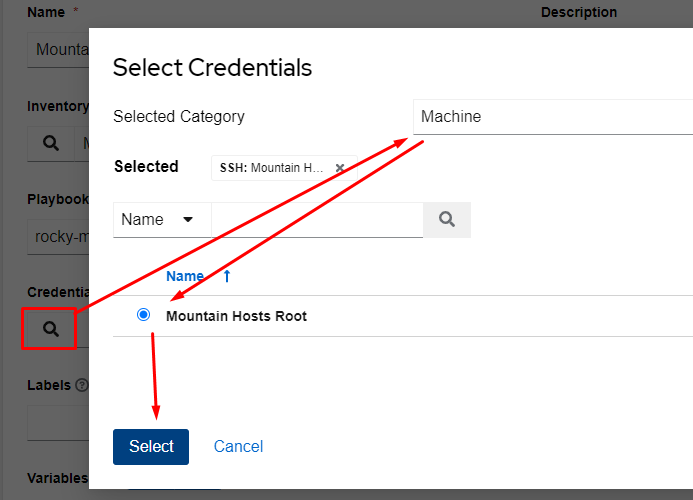
I now need to add my credentials. I click the magnifying glass and select my new machine credential and click “Select”:
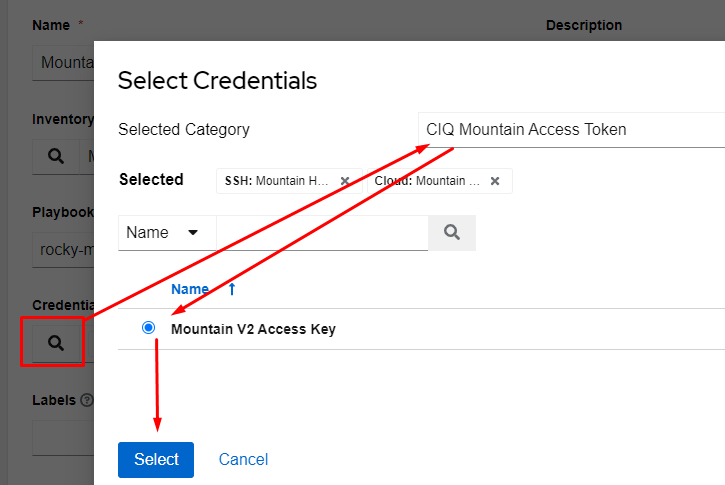
I now need to add my Mountain Key, so click the magnifying glass again, change the category to “CIQ Mountain Access Token,” select my key, and click “Select”:
You can now scroll to the bottom of the page and click “Save.”
Launching automation
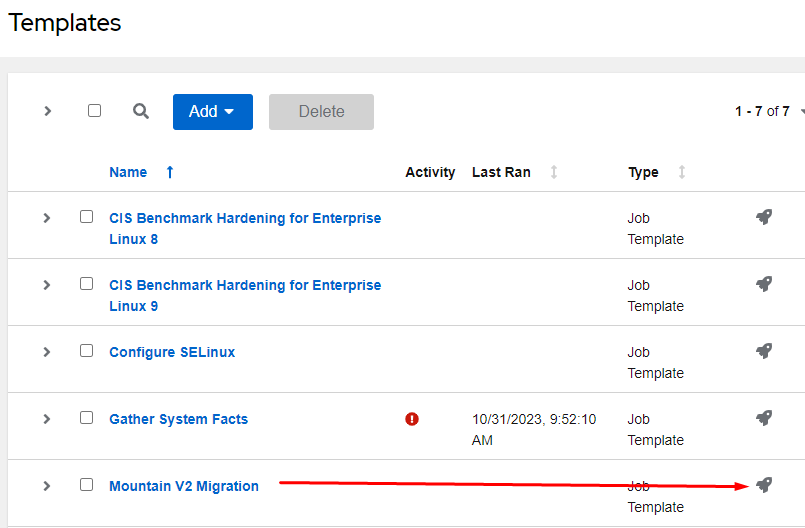
From the “Resources” menu, click “Templates.” Next to my newly created job template “Mountain V2 Migration,” I’m going to click the rocket ship to launch it:
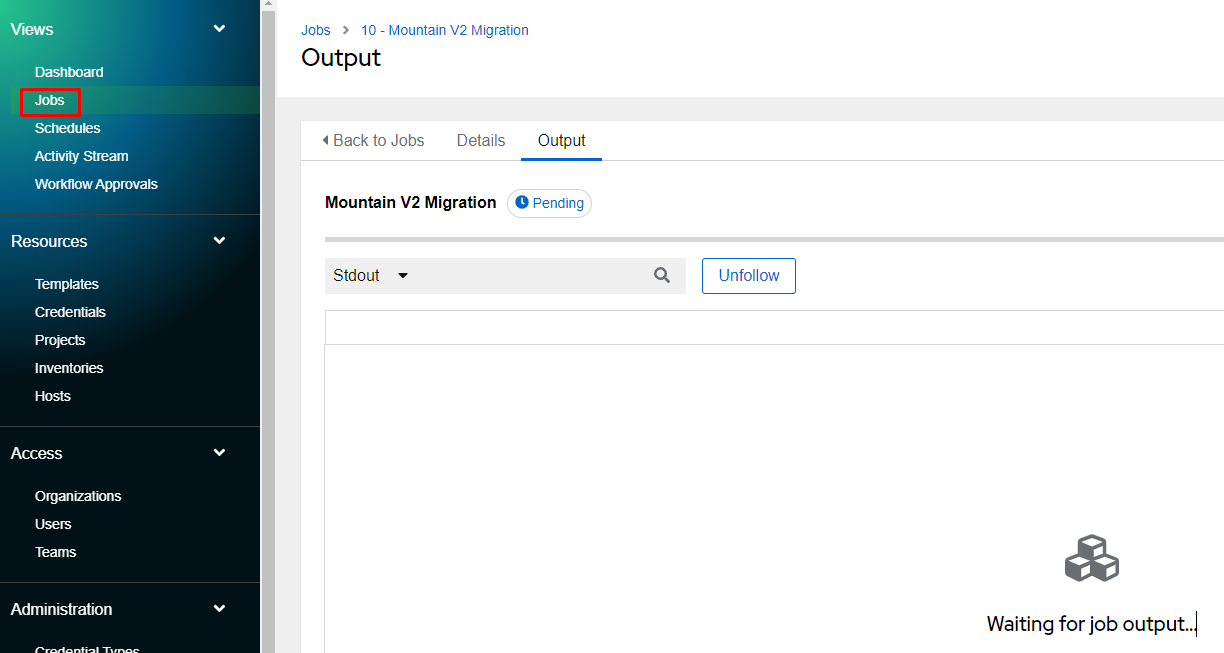
The automation will begin and take me to the job output:
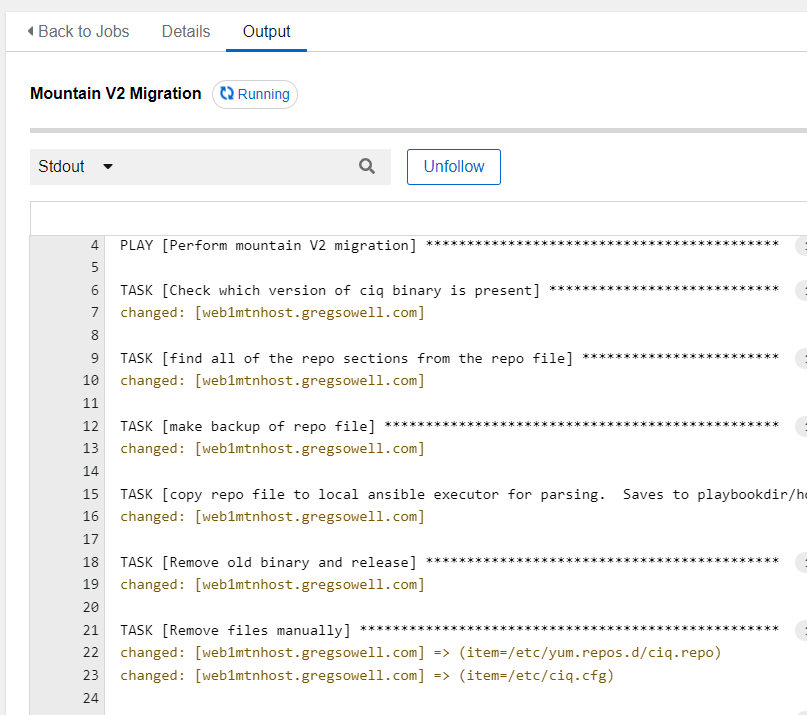
As the job run progresses, I should see status pop up in the output menu:
Conclusion
Ascender, and this playbook, can really make the migration process easier, and we hope it helps you on the way to the new and improved Mountain!
Built for scale. Chosen by the world’s best.
2.75M+
Rocky Linux instances
Being used world wide
90%
Of fortune 100 companies
Use CIQ supported technologies
250k
Avg. monthly downloads
Rocky Linux


