4 min read
Ascender VM Basic Install Guide (Utilizes K3s)

With the help of this installation guide, you should be able to install and use Ascender in under an hour, even if you are new to Linux.
Prerequisites
- A Linux server (VM or bare-metal server, though VM will be assumed moving forward)
| OS | Rocky 8 or 9 | |
| CPUs | Testing | Production |
| 2 | 4+ | |
| RAM | 8GB | 16GB+ |
| Storage | 32GB | 60GB+ |
- Internet access on host performing install
- Installation can be performed from the Ascender server or another host
- It is recommended the install be done from the Ascender server itself (this documentation assumes this)
- SSH client (on your personal machine) to connect to the server performing the installation
- Windows
- Putty is a reliable and open source option
- Windows
- Installation can be performed from the Ascender server or another host
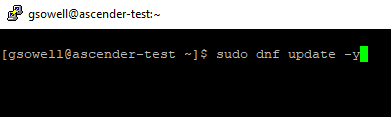
While it’s not necessarily a prerequisite, it is a best practice to make sure your server is up-to-date on all of its existing packages.
- Rocky
- sudo dnf update -y
Firewall Ports Required
Incoming Ascender Management - TCP/80(and/or TCP/443 for secure) and TCP/22.
Outgoing Ascender DB (if on a different server from Ascender) - TCP/5432 Outgoing Host Management- TCP/22 for SSH, TCP/80 and TCP/443 to API hosts, TCP/5895 and/or TCP 5986 WinRM.
Access to a container registry for EEs is required and access to a standard repository is required for package updates. The default.config.yml file lists some port options.
Acquire installation files
All installation files are located in a git repository, likely the one you are reading this doc in. The git command line program will be utilized for this.
Use command line git
Command line git is quite simple to use, especially for something this basic.
Install git
First check to see if it is installed by issuing the command “git --version”.
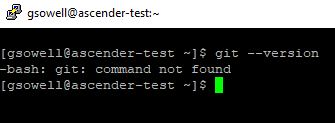
I got command not found, so I need to perform a quick install:
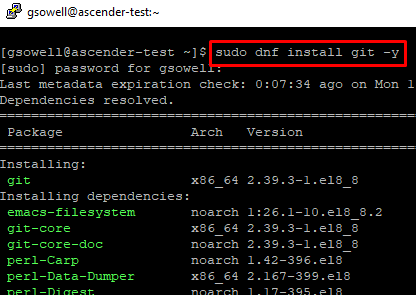
- Rocky
- sudo dnf install git -y
- Note sudo is only required for non-root users
- sudo dnf install git -y
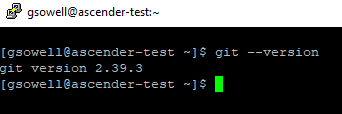
Now that it’s installed, I’ll test again “git --version”.
Use git
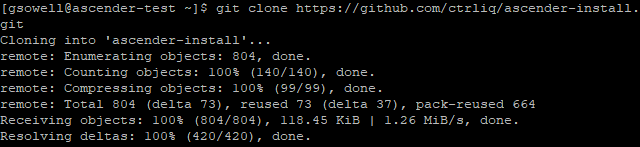
Use the clone command with git to download the installation files.
When cloning the files, they will create a directory inside of the current working directory. By default, this will be the home directory of whichever user you are logged in as. If you are root, then this default folder will be /root. If you are another user, it will be /home/This_User_name.
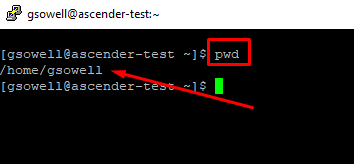
You can use the “pwd” command to figure out where you currently are:
You don’t have to change this, but it can be helpful when locating the files later.
Now use the “git clone” command to make a copy of the repository in its own folder here. The full command is “git clone https://github.com/ctrliq/ascender-install.git”.
Issue the “ls” command to list the contents of the current directory.
You should now see a new folder listed named “ascender-install”.

Configure and run setup script
Example Kube Config file
The Kube Config file will instruct k3 on how to configure the k3 server (a sample file is provided). This file needs modifications to meet your environment. In this case, I’m configuring everything to run and install on the localhost, so my modifications are as follows on the file (in the root ascender-install directory) in ./default.config.yml:
| Original | New |
| ASCENDER_HOSTNAME: ascender.example.com | ASCENDER_HOSTNAME: Resolvable.domain.name Must be DNS resolvable or in hosts files You can alternately add this to the host file on the server and the host file on your client. If you set use_etc_hosts to true, it will add the server hosts entry for you. |
| ASCENDER_ADMIN_PASSWORD: "myadminpassword" | ASCENDER_ADMIN_PASSWORD: "SomethingNewAndUnique" |
| kube_install: false | kube_install: true |
| k3s_master_node_ip: "x.x.x.x" | k3s_master_node_ip: 127.0.0.1 |
| use_etc_hosts: false | use_etc_hosts: true If you aren’t using FQDNs |
If not installing Ledger
| Original | New |
| LEDGER_INSTALL: true | LEDGER_INSTALL: false |
If installing Ledger
| Original | New |
| LEDGER_HOSTNAME: ledger.example.com | LEDGER_HOSTNAME: ResolvableLedger.domain.name Must be DNS resolvable or in hosts files You can alternately add this to the host file on the server and the host file on your client. If you set use_etc_hosts to true, it will add the server hosts entry for you. |
| LEDGER_ADMIN_PASSWORD: "myadminpassword" | LEDGER_ADMIN_PASSWORD: "SomethingNew" |
| LEDGER_DB_PASSWORD: "mydbpassword" | LEDGER_DB_PASSWORD: "SomethingNew" |
Run setup
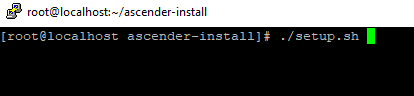
Enter the directory by entering “cd ascender-install” on the terminal:

Now run setup.sh with the following command inside of the ascender-install directory: sudo ./setup.sh
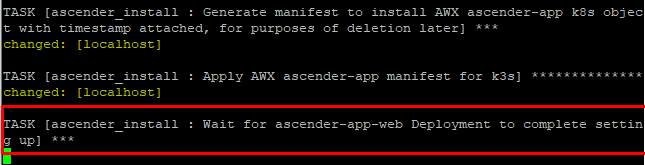
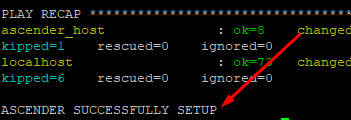
The installer will likely delay for a significant amount of time when waiting for the ascender-web-app to deploy, so please be patient:
Once the script is complete, you should see ASCENDER SUCCESSFULLY SETUP.
You should now be able to access Ascender and Ledger via your browser using the hostnames you configured in the default.config.yml file. If you don’t have the hostnames in your DNS servers, you will want to edit the hosts file on your local machine.
Troubleshooting/install monitoring
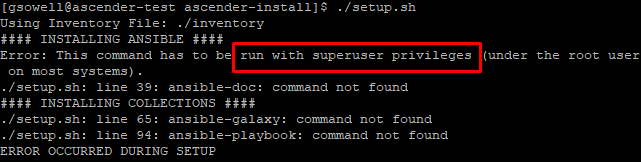
Superuser privileges
If you see the following error, remember to run your setup command with “sudo”:
Kubernetes monitoring
You can watch the install by running the following command in a separate terminal:
kubectl get pod -n ascender -w
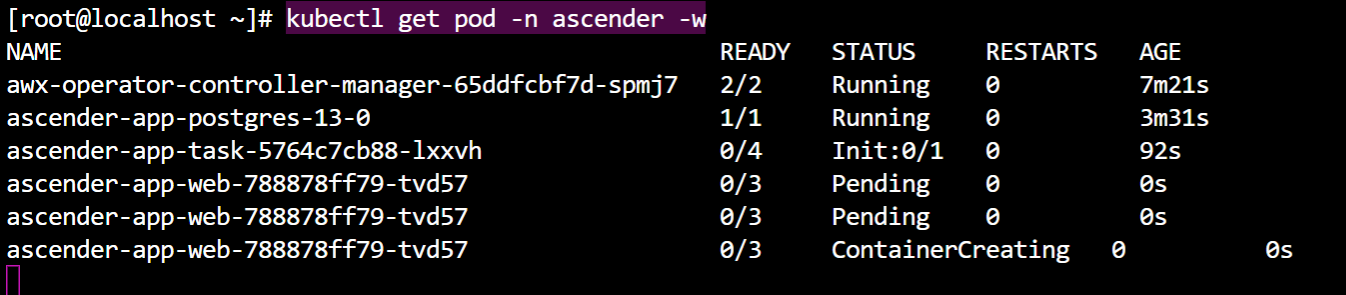
To dive deeper into the actions being taken, you can use the following command:
kubectl describe pod -n ascender [pod name]
EXAMPLE: kubectl describe pod -n ascender ascender-app-web-788878ff79-tvd57
Want to learn more? Download our Ascender Solution Brief or contact us directly.
Built for scale. Chosen by the world’s best.
2.75M+
Rocky Linux instances
Being used world wide
90%
Of fortune 100 companies
Use CIQ supported technologies
250k
Avg. monthly downloads
Rocky Linux


