
How to Deploy Portainer with Podman on Rocky Linux
Portainer is a web-based container management platform that makes working with containerized deployments significantly easier, more efficient, and more reliable. And although you can use Cockpit or the CLI to manage deployments, Cockpit is fairly basic, and the CLI requires more knowledge and isn't nearly as efficient as a well-designed GUI.
That's where Portainer comes in. With Portainer, you gain access to every aspect of the deployment you need, from containers, images, volumes, networks, environmental variables, registries, users, templates, secrets, and more. And although Portainer was originally designed for Docker and Kubernetes, it can also work with Podman, which is installed on Rocky Linux by default.
What can Portainer do that Cockpit can't? Here's the shortlist:
-
Create full-stack applications
-
Create applications from a form
-
View logs
-
Manage access control via users and teams
-
Add remote registries
-
Create and manage networks
-
Manage secrets
We're going to walk you through the steps to deploy Podman on Rocky Linux, so you can more easily manage your containers.
What you'll need
The only things you'll need for this are a running instance of Rocky Linux and a user with sudo privileges. One thing to keep in mind is that you must deploy Portainer with the help of sudo, as without the deployment, it will fail. You can configure Podman to run without the need for sudo privileges, but that brings up a host of security issues, so it's best to deploy with sudo.
With that said, let's get to the deployment.
Pull the official image
The first thing to do is log into your Rocky Linux instance. Once you've taken care of that, open a terminal window and pull the latest official Portainer Community Edition image with the command:
podman pull portainer/portainer-ce
To verify the image was successfully pulled, issue the command:
podman images
You should see a listing that looks similar to this:
docker.io/portainer/portainer-ce latest a87d51c7a324 4 weeks ago 273 MB
Deploying the container
Now that we have the image pulled, we can deploy the container with the command:
sudo podman run -d -p 9443:9443 --name portainer --privileged -v /run/podman/podman.sock:/var/run/docker.sock:Z portainer/portainer-ce
We use the --privileged option, which tells the Podman engine to launch the container without any further lockdown. Without using this option, Portainer would fail to work properly. The reason why we run Portainer in privileged mode is because the software requires access to certain resources on the host machine that wouldn't be available in unprivileged mode.
If you want to deploy Portainer with persistent storage (in case something happens with the original container and you want to retain and reuse your data), first create the volume with the command:
podman create volume portainer_data
Now, we can deploy the container, using the newly-created volume, with the command:
sudo podman run -d -p 8000:8000 -p 9443:9443 --name portainer --privileged -v /run/podman/podman.sock:/var/run/docker.sock:Z -v portainer_data:/data portainer/portainer-ce
Accessing Portainer
Give the container a couple of minutes to deploy. You can verify the container is running with the command:
sudo podman ps
You should see something like this in the listing:
158d527253a7 docker.io/portainer/portainer-ce:latest 10 minutes ago Up 10 minutes ago 0.0.0.0:8000->8000/tcp, 0.0.0.0:9443->9443/tcp portainer
Once the container is running, open a web browser on a machine connected to the same network and point it to https://SERVER:9443 (where SERVER is the IP address of your Rocky Linux instance). You'll be greeted with a window requiring the creation of an admin user (Figure 1).
Figure 1
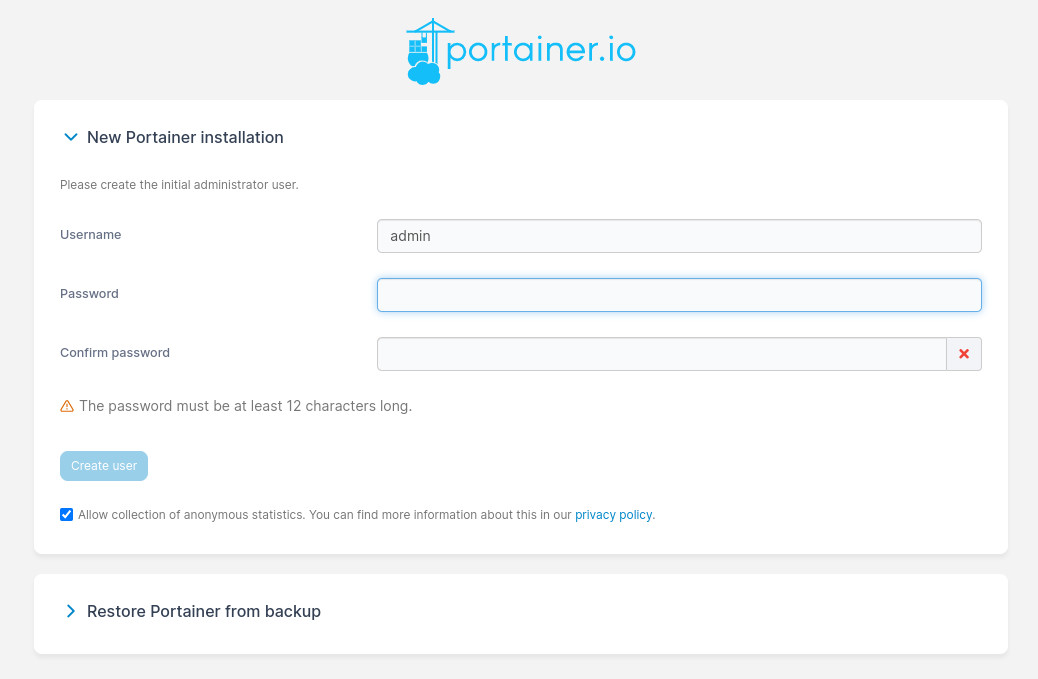
You can also restore Portainer from a backup on this screen.
Type an admin username and then add and verify a password for the new user. Click Create User and you'll be taken to the Portainer UI. On the next page (Figure 2), click Get Started to open the local Podman environment.
Figure 2
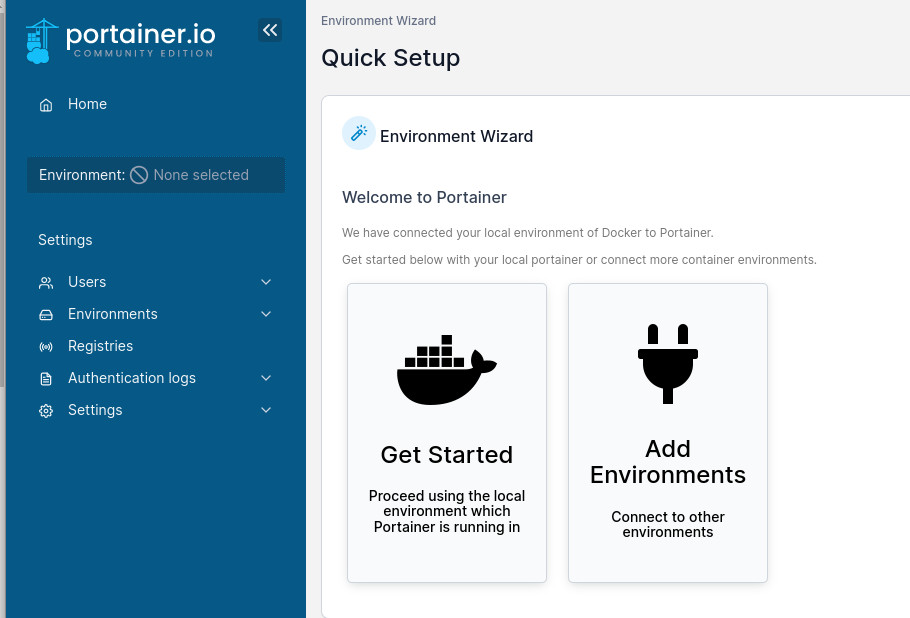
You can add new environments later. To get to work immediately, click Get Started.
After clicking Get Started, you'll see the local environment listed. Click that entry (Figure 3) to start using Portainer.
Figure 3
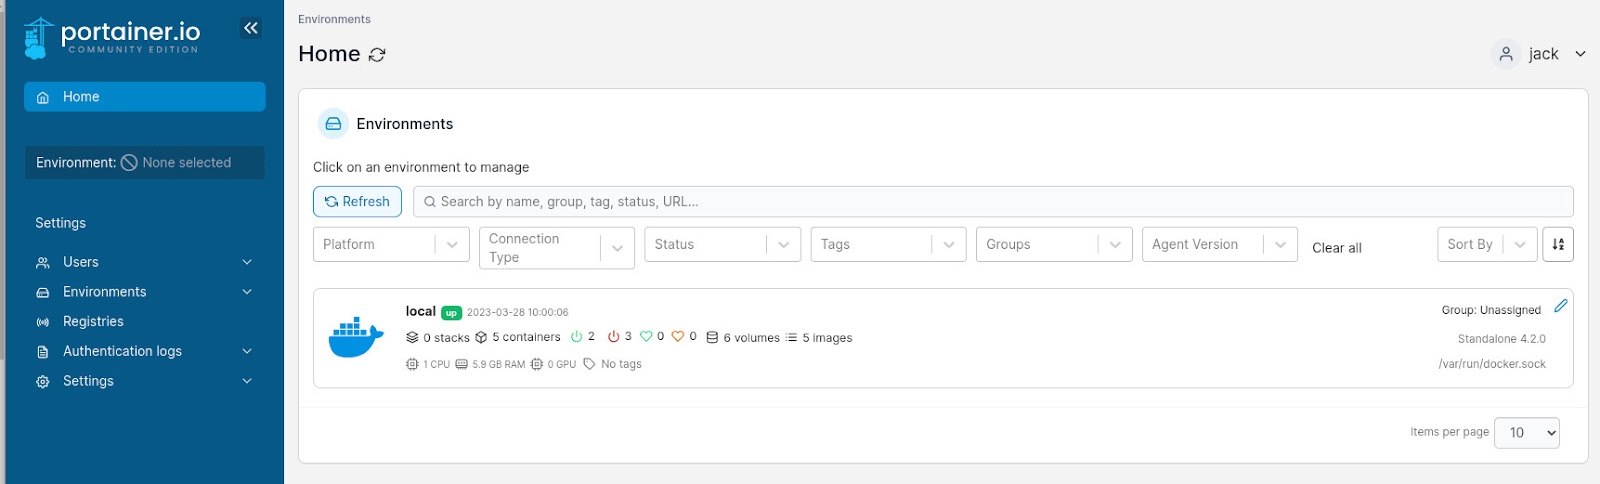
Portainer is ready to go.
Now that you have Portainer up and running on Rocky Linux, you'll be surprised at how much easier your containerized deployments are to manage. Although Cockpit is a great place to start, when you want a user-friendly GUI that gives you real power, Portainer is the way to go.


Built for scale. Chosen by the world’s best.
2.75M+
Rocky Linux instances
Being used world wide
90%
Of fortune 100 companies
Use CIQ supported technologies
250k
Avg. monthly downloads
Rocky Linux