
How to Install the NGINX Web Server on Rocky Linux
Over the past decade, NGINX has become one of the most popular web servers on the market. For those who've never tried NGINX, it is highly efficient (especially at handling concurrent connections), scales very well, and has a lower memory profile than many other web servers.
Back in 2021, NGINX overtook Apache as the world's number 1 web server. As of December 2023, it was neck and neck with Apache at 23% market share apiece (with Microsoft web server coming in at only 2%).
It should go without saying that, at some point in your Rocky Linux admin career, you're going to need to install and use NGINX.
We're going to show you how to install the NGINX web server on Rocky Linux. Once installed, we'll create a server block to show you how a website is configured.
What you'll need
To install NGINX, you'll need a running instance of Rocky Linux, a user with sudo privileges, and a network connection. One thing to keep in mind is that it's best to install NGINX on a fresh instance of Rocky Linux. If you already have Apache installed, it can cause problems with NGINX starting (even if the httpd service is stopped and disabled).
With that said, let's install it.
Installing NGINX on Rocky Linux
Log into your Rocky Linux instance and (if necessary) open a terminal window. Make sure Rocky Linux is up-to-date with the command:
sudo dnf update -y
Once the update completes, you might have to reboot (if the kernel upgrades); otherwise, continue with the installation.
To install NGINX, issue the command:
sudo dnf install nginx -y
After the installation finishes, start and enable the NGINX service with the command:
sudo systemctl enable --now nginx
You can verify the web server is running with the command:
sudo systemctl status nginx
NGINX should be listed as Active: active (running).
Opening the firewall
Before any web pages can be viewed, you must now open the Rocky Linux firewall. This is done with the following two commands:
sudo firewall-cmd --permanent --add-service=http
sudo firewall-cmd --reload
With the firewall opened for http traffic, you can further verify the service is running by opening a web browser on your network and pointing it to http://SERVER (where SERVER is the IP address of the Rocky Linux instance hosting NGINX). You should see the default NGINX welcome page (Figure 1).
Figure 1
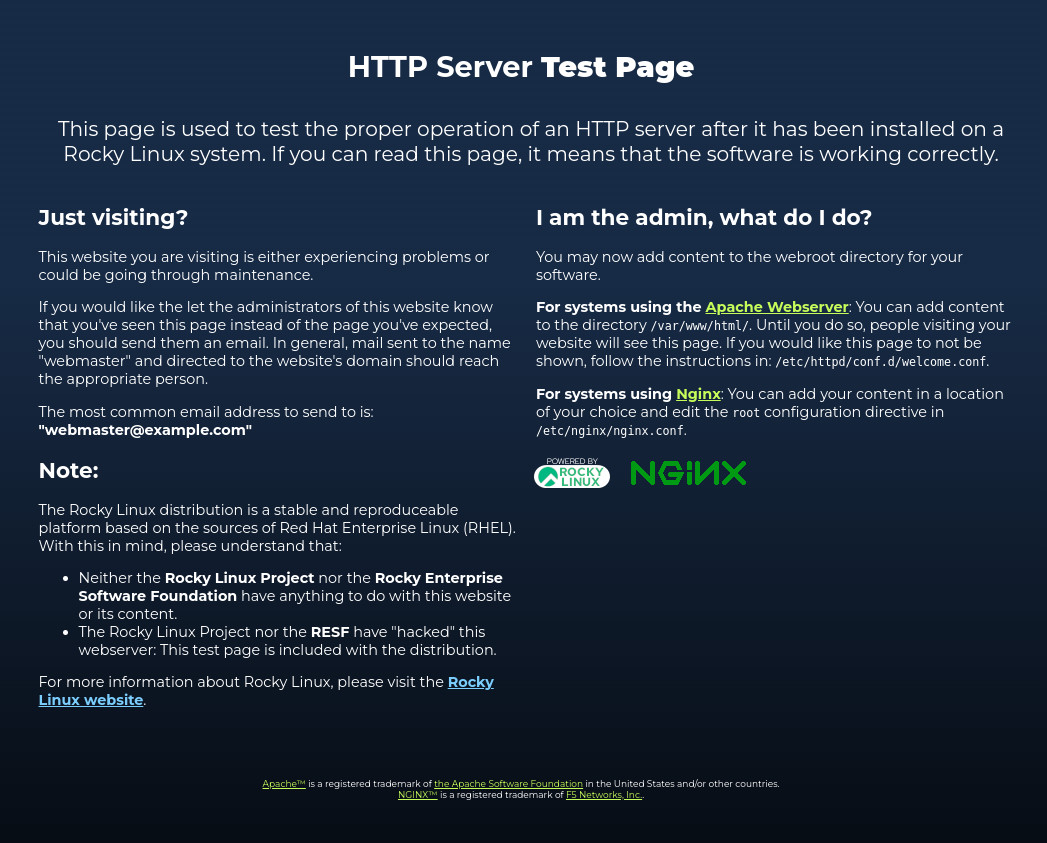
The default NGINX welcome page ensures the web server is running as it should.
Creating your first server block
Server blocks are similar to Apache's virtual hosts and allow you to serve up multiple websites from the same server.
Let's say you want to create a test site, called test, which will be served from the base IP of the server (so you could simply point your browser to either the IP address or domain of the hosting machine—assuming you have the domain set up properly to point to the server in question). Create a directory for that site with the command:
sudo mkdir -p /var/www/test/html
Give the new directory the proper permissions with:
sudo chown -R $USER:$USER /var/www/test/html
Create a sample index.html page with:
sudo nano /var/www/test/html/index.html
In that file, add the following:
<h2>Hello, Rocky Linux!<h2>
Save and close the file.
Create the server block file with:
sudo nano /etc/nginx/conf.d/test.conf
In that file, paste the following:
server {
listen 80;
        listen [::]:80;

        root /var/www/test/html;
        index index.html index.htm index.nginx-debian.html;

        server_name your_domain www.your_domain;

        location / {
                try_files $uri $uri/ =404;
        }
}
Note: You should modify server_name your_domain www.your_domain according to your domain (if applicable). Save and close the file. You can also change the index line to serve up the types of file that will be used as your index.
Restart NGINX with:
sudo systemctl restart nginx
Finally, make sure SELinux is aware of the change with the command:
sudo chcon -vR system_u:object_r:httpd_sys_content_t:s0 /var/www/test/
You should now be able to point your browser to http://SERVER (where SERVER is either the IP address or domain of the hosting server) and see Hello, Rocky Linux! printed in the browser page.
And that's all there is to installing NGINX on Rocky Linux and creating your first server block. If you need a fast, reliable, highly scalable, and performant web server, this is the tool for the job.


Built for scale. Chosen by the world’s best.
2.75M+
Rocky Linux instances
Being used world wide
90%
Of fortune 100 companies
Use CIQ supported technologies
250k
Avg. monthly downloads
Rocky Linux