
How to Deploy Rocky Linux as a Virtual Machine with VirtualBox
Virtual machines (VMs) are a great way to deploy numerous servers, without having to purchase additional systems. Not only that, but they make it easy to take snapshots of a current running state, so you can always roll back, should something go awry.
On top of that, virtual machines are a great way to test operating systems, applications, services, and much more. You can host a guest VM on a machine, test it for as long as necessary, and (once it's ready for production) migrate it to the live network.
Several platforms make managing virtual machines quite easy, one of which is VirtualBox. VirtualBox is widely used (and championed) among the open source community, and does a great job of allowing for the deployment of multiple operating systems (such as Rocky Linux) on a single host.
Although the creation of a Virtual Machine in VirtualBox is fairly straightforward, there are a couple of tricks you'll want to know about that you'll probably find helpful.
Let's dive in and create a VirtualBox VM with Rocky Linux.
What you'll need
To make this work, you'll need VirtualBox installed on your host operating system of choice. You can install VirtualBox on Linux, macOS, and Windows. The process for creating the VM is the same, regardless of your host OS, so whatever operating system you are comfortable with as the host is fine.
You'll also need to download the latest ISO image of Rocky Linux. Make sure to grab the ISO that matches the architecture of the host machine, from x86_64, ARM64, ppc64le, or s390x.
That's it. Let's deploy Rocky Linux as a Virtual Machine.
Creating the guest
Remember, the host is the machine VirtualBox is installed on, and the guest is the virtual machine. To create the new guest, open VirtualBox and click New in the toolbar (Figure 1).
Figure 1
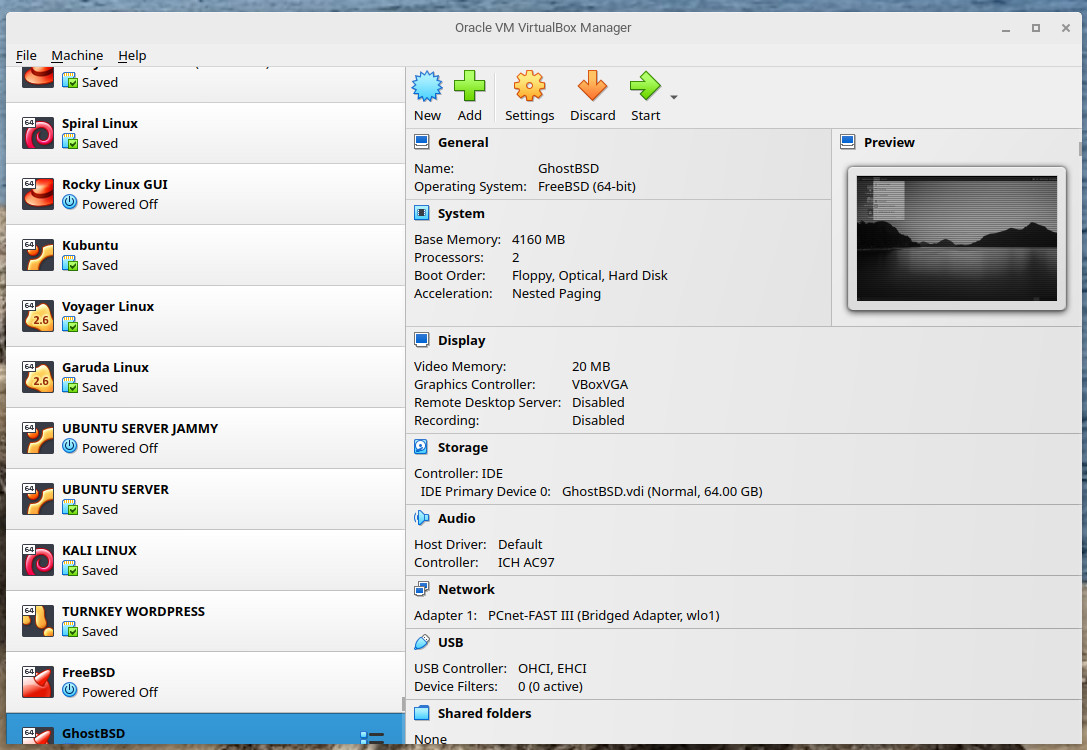
VirtualBox running on Ubuntu Budgie Linux.
When the Create Virtual Machine wizard opens (Figure 2), give the VM a name and then click the ISO Image drop-down.
Figure 2
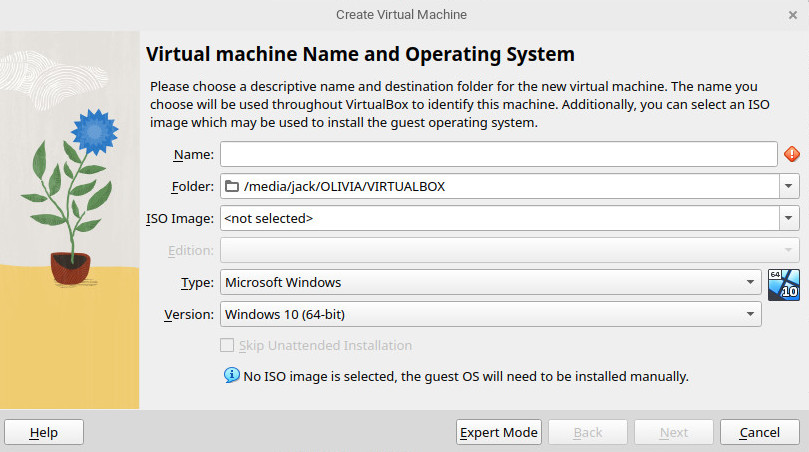
The first page of the Virtual Machine creation wizard.
From the ISO Image drop-down, select Other, which will open the file picker of your default file manager. Navigate to and select the newly downloaded Rocky Linux ISO image and then click Open. Click the checkbox for Skip Unattended Installation (as that will skip the user-account creation, and you might wind up with a VM that doesn't allow you to log in.
Click Next and, in the resulting window (Figure 3), configure the Base Memory and number of processors you want to allocate to the VM.
Figure 3
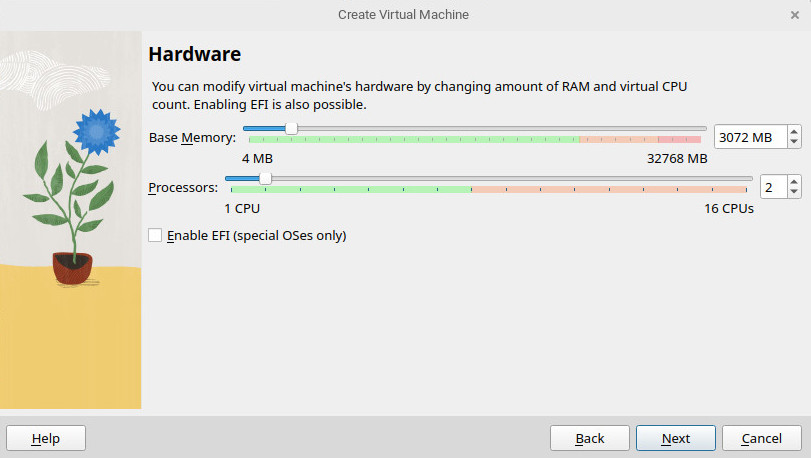
Make sure to give the virtual machine plenty of resources.
Click Next and, on the resulting page of the wizard (Figure 4), make sure to resize the virtual hard disk so it has enough storage for whatever purpose your VM will serve.
Figure 4
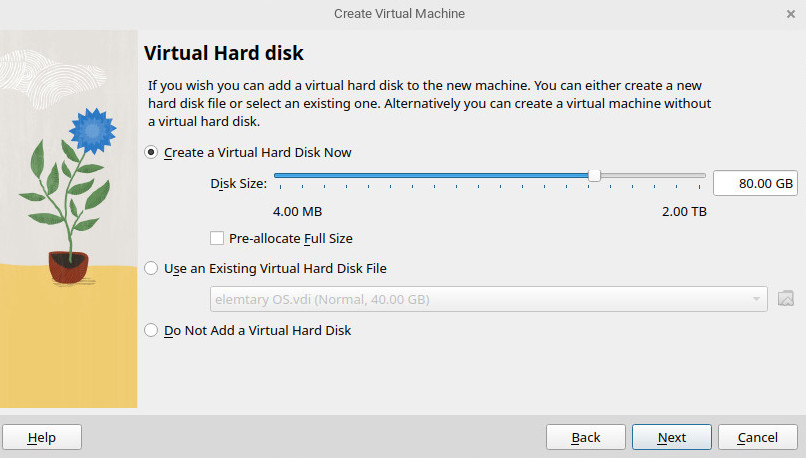
Make sure to give your VM more than enough storage.
On the final wizard screen (Figure 5), you'll see a summary of the configuration. If all looks good, click Finish.
Figure 5
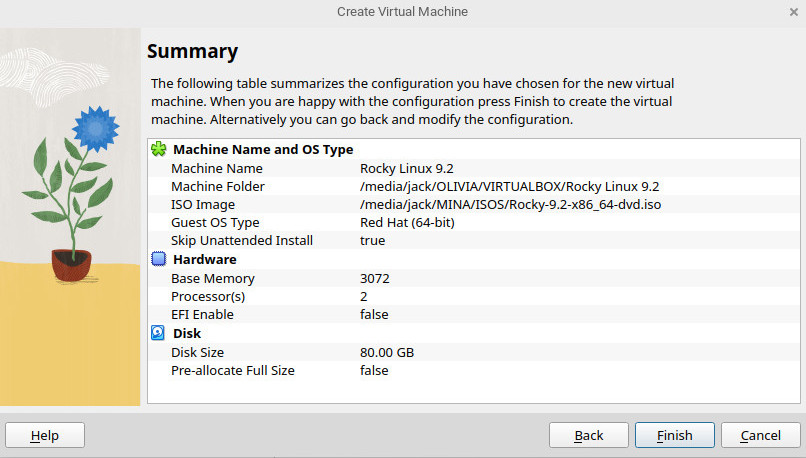
The summary of our Rocky Linux VM configuration.
Before you install Rocky Linux
You're almost ready to start the VM and install Rocky Linux. Before you do, however, there's a very important configuration you must take care of. If you want the VM to be reachable from your LAN (or the outside world), you need to change the default network.
Select the newly created VM in the left pane and then click Settings in the toolbar. From the pop-up window, click Network. In that section, click the Attached to drop-down and select Bridged from the options (Figure 6). Click OK when you're done.
Figure 6
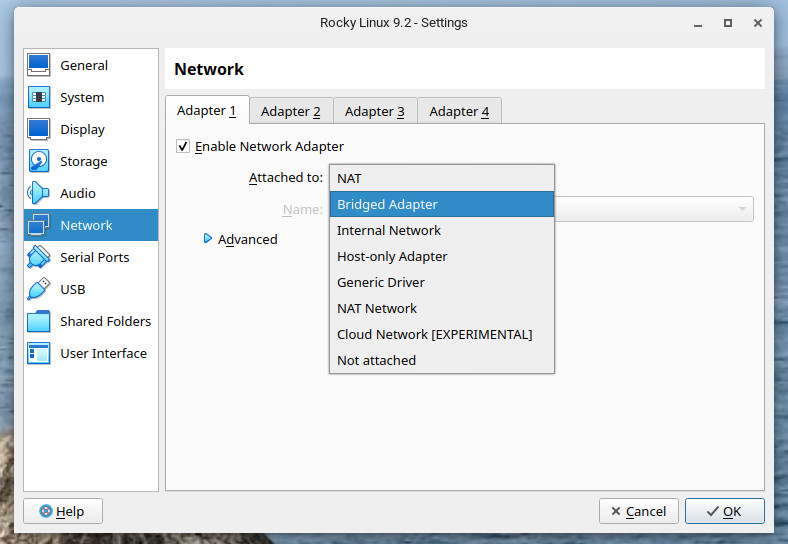
If you want to access the VM from your LAN, you must change the network to Bridged.
Now that you've taken care of this, select the Rocky Linux VM from the left pane and click Start in the toolbar. This will launch the virtual machine and you can then go through the standard Rocky Linux installation process.
When the installation completes, you'll be prompted to click Reboot, at which point the OS will boot and you'll find yourself on the Rocky Linux login.
Congratulations, you just created your first Rocky Linux virtual machine and can now start developing, testing, or deploying services to the new server.


Built for scale. Chosen by the world’s best.
2.75M+
Rocky Linux instances
Being used world wide
90%
Of fortune 100 companies
Use CIQ supported technologies
250k
Avg. monthly downloads
Rocky Linux