4 min read
How to Administer Rocky Linux with Cockpit

For most Linux admins, the command line is the default method for getting work done. And although that's a great way to eke as much power and flexibility from the OS as possible, there are more efficient methods for administering a server. And in the modern era, where IT pros, development teams, and DevOps are busier than ever, why make things harder?
This is especially true when there are outstanding GUI tools that make interacting with server operating systems like Rocky Linux even easier.
Sure, you definitely want to know how to work the command line like a pro, but when push comes to shove, there will be times you simply want to open a GUI to get things done.
Such is the case with Cockpit.
Cockpit is a web-based GUI that allows you to manage:
-
Logs
-
Storage
-
Networking
-
Podman containers
-
User accounts
-
Services
-
Software updates
-
SELinux
You can also view logs and even access the terminal for the server. Cockpit also allows for the addition of third-party modules to expand the feature set.
Let's get Cockpit enabled and see just how easy it is to administer a Rocky Linux server with this powerful GUI.
What you'll need
The only things you'll need for this are a running instance of Rocky Linux and a user with sudo privileges. That's it. Let's get to work.
Enabling Cockpit
Cockpit is often installed by default with Rocky Linux, but minimal server installations won’t have it. Installing it and the related add-ons is a breeze, however:
sudo dnf groupinstall “Headless Management”
Likewise, the command to enable is very simple. Log into your Rocky Linux server, open a terminal window, and issue the command:
sudo systemctl enable --now cockpit.socket
To verify the service is running, issue the command:
systemctl status cockpit.socket
You should see something like the following in the output:
cockpit.socket - Cockpit Web Service Socket

     Loaded: loaded (/usr/lib/systemd/system/cockpit.socket; enabled; vendor p>

     Active: active (running) since Tue 2023-03-14 11:20:02 EDT; 22min ago

      Until: Tue 2023-03-14 11:20:02 EDT; 22min ago
How to access the Cockpit GUI
There are two ways to access the Cockpit GUI. The first is via a web browser. If you open a browser and point it to https://SERVER:9090 (where SERVER is the IP address of the Rocky Linux machine), you'll be greeted by a login prompt (Figure 1).
Figure 1
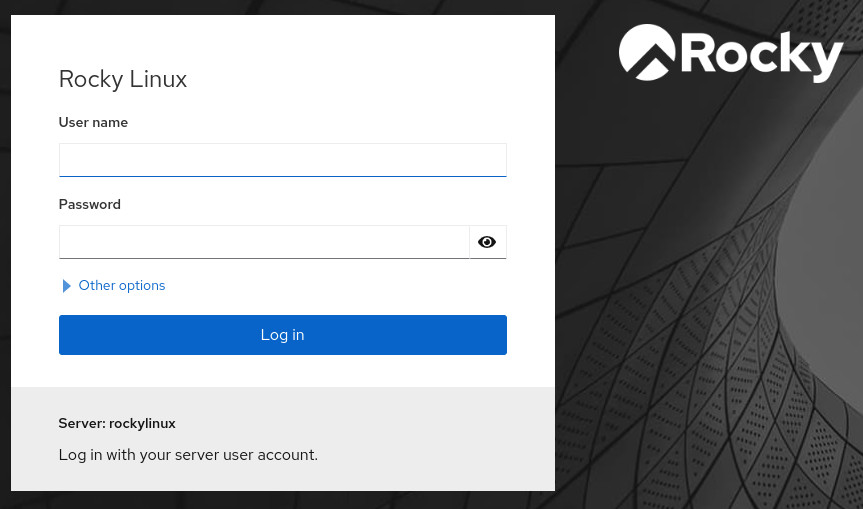
The Cockpit login on Rocky Linux 9.1.
After successfully authenticating with a valid user, you will next want to turn on administrative access. To do that, click Turn On Administrative Access near the top of the window (Figure 2).
Figure 2
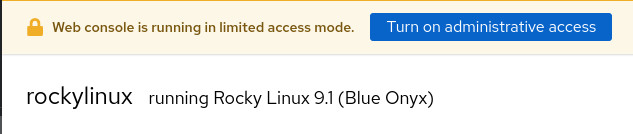
Enabling administrative access in Cockpit on Rocky Linux 9.1.
You'll be prompted for your user's sudo password. Upon successful authentication, you should now see the Cockpit main window (Figure 3), where you can start working with various aspects of your server.
Figure 3
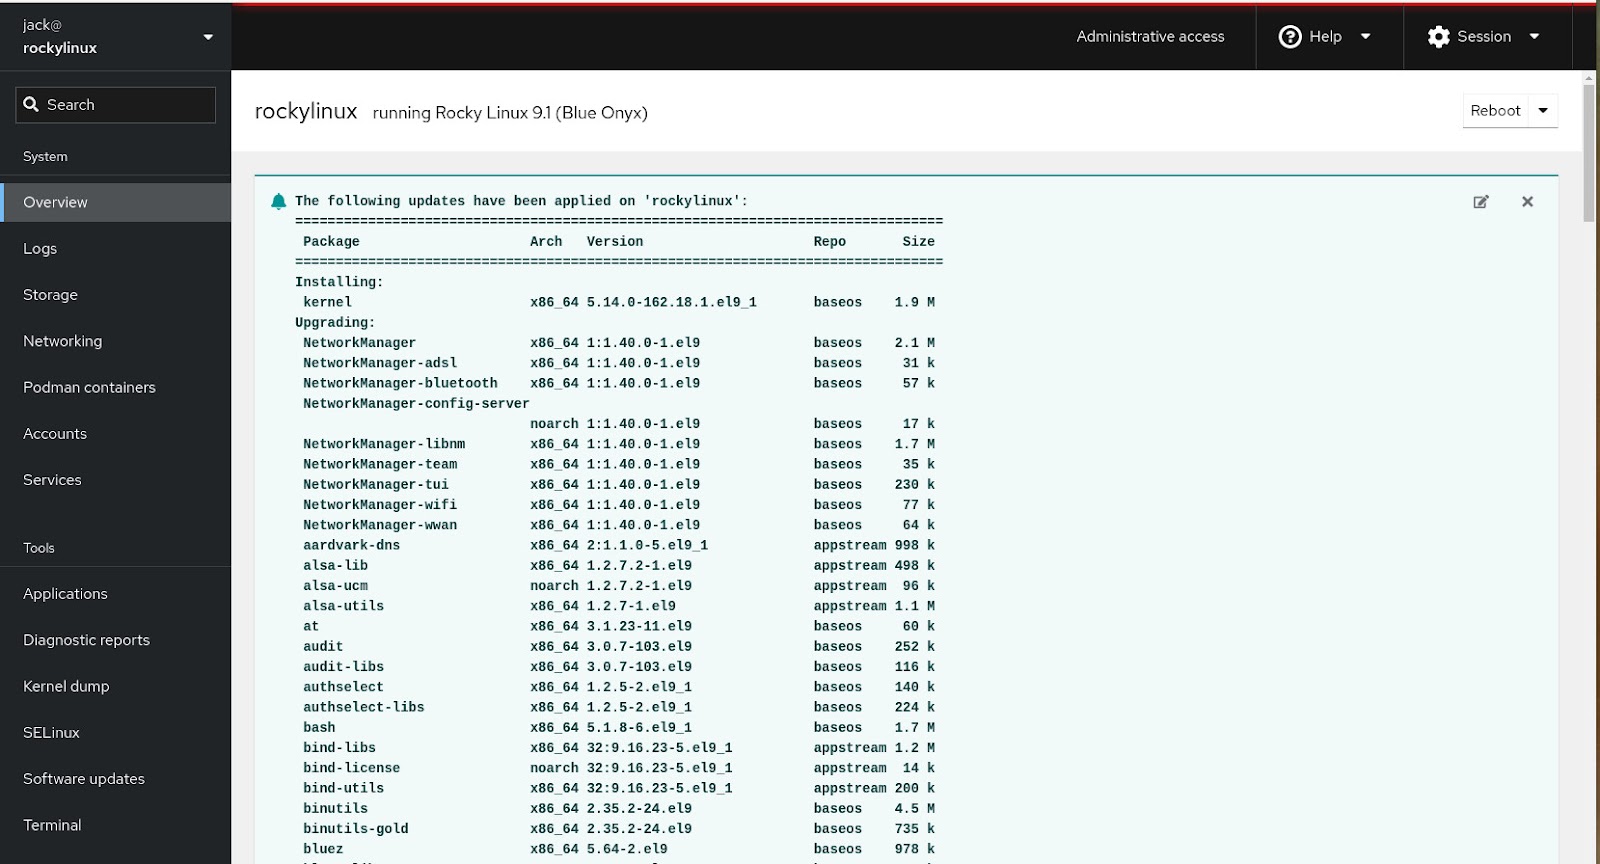
Cockpit is now ready to serve as your admin GUI.
Another method of accessing Cockpit outside of your web browser comes by way of a simple-to-use app, which is available to most Linux distributions that support Flatpak. That app can be installed with the command:
flatpak install cockpitclient
Make sure to install the app to the system and select the stable option. Once installed, you'll find the client in your desktop menu. Launch the app and, when prompted (Figure 4), type the IP address of the Rocky Linux server (only don't add the 9090 port).
Figure 4
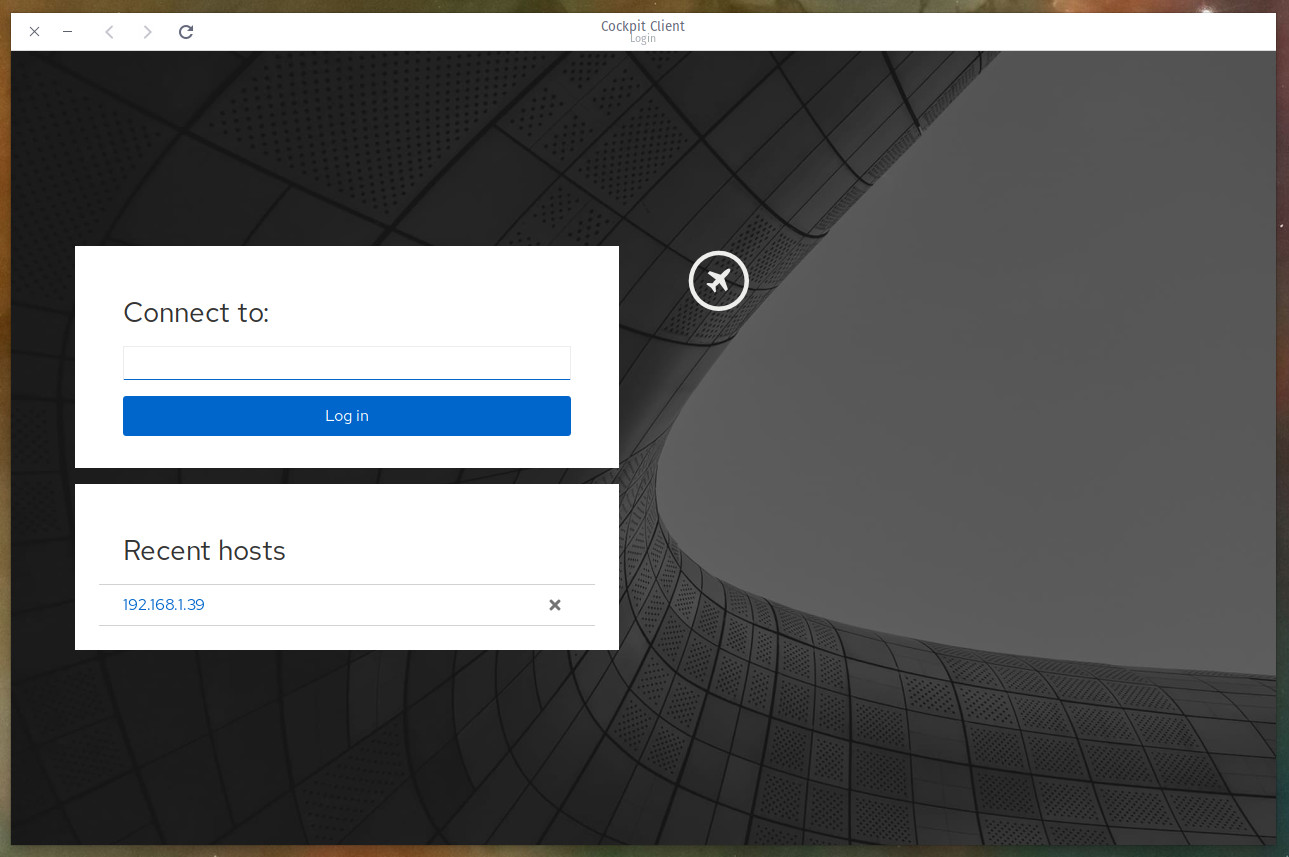
The Cockpit Client connection window.
You will be prompted for your user password to log in. One thing to keep in mind is that if your username on the remote Rocky Linux machine differs from the local username, your connect to string will look like this:
USER@SERVER
Where USER is the remote username and SERVER is the IP address of the Rocky Linux server. You will then be greeted by the same window you saw from within the browser.
In my case, I immediately noticed a number of updates had been applied to the server, and a reboot was required. All I had to do was click Reboot from the top right drop-down, type an optional message to logged-in users, select an optional delay, and click Reboot (Figure 5).
Figure 5
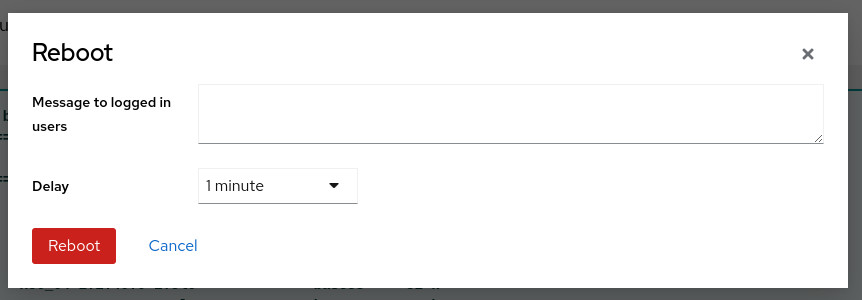
Rebooting Rocky Linux from within Cockpit.
You will see a Disconnected warning until the server fully reboots, at which point you'll need to click Reconnect and log back into Cockpit.
How to connect to multiple servers
Cockpit has a really cool feature that allows you to connect to multiple servers running the Cockpit service from one instance. To do this, click the drop-down in the upper left corner and click Add New Host (Figure 6).
Figure 6
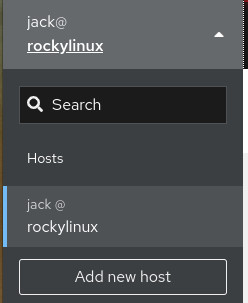
Adding another host to Cockpit.
In the resulting window (Figure 7), type the IP address of the host, a username, and select a color to represent the new host.
Figure 7
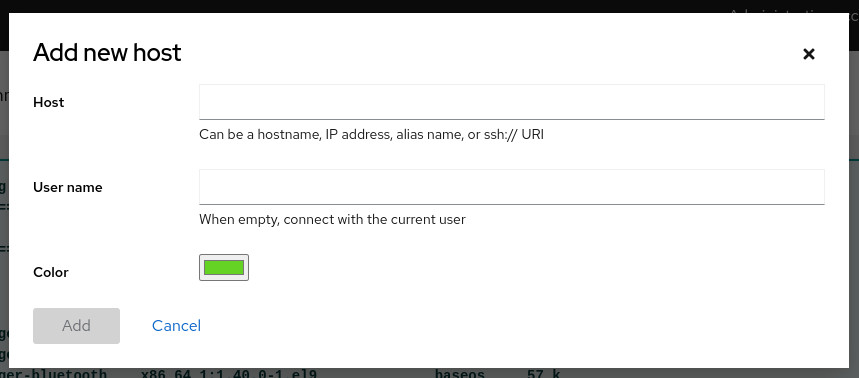
The Add New Host popup window in Cockpit.
After typing the host and name, click Add, and then, when prompted, click Accept Key and Connect. You will then be prompted to type your remote user password. Do that and click Log In to finalize the addition of the new host.
Once the new host has been added, you can then switch between them by clicking the drop-down in the upper left and selecting the host you want to interact with.
And that's all there is to getting Cockpit up and running on Rocky Linux. Next time around, we'll show you how to add third-party modules to Cockpit to expand its feature set.
Built for Scale. Chosen by the World’s Best.
1.4M+
Rocky Linux instances
Being used world wide
90%
Of fortune 100 companies
Use CIQ supported technologies
250k
Avg. monthly downloads
Rocky Linux


